Fat Quarter Napkins
Hello, all! I hope everyone is having a great summer, taking some vacations, and generally having a great time.
We’ve been trying to cut down on waste in our house and I’ve not been happy with how many paper towels we use. We use them to clean and, as napkins. I can justify using the paper towels more for cleaning, but, the napkin use was feeling wasteful. Especially when family members wouldn’t use them and then we’d throw them away. I was also in need of an “instant gratification” project. Enter a solution - reusable napkins.

So, now to research some patterns on Pinterest and YouTube. In doing this I found napkins with various sizes, mitered corners, and those that used one or two pieces of material. Here were the notes about the patterns I found in my research:
I didn’t like the end look of those napkins that only used one piece of material. I didn’t want something overly formal, but did have a finished look.
While I do need to practice mitered corners, I decided I didn’t want to use them here because they felt “too formal” for every day use or, the pattern would require too much cutting. Well, more cutting than I wanted to do for this project.
I didn’t want to cut from yardage or have a lot of waste. I already knew I wanted to use fat quarters.
You really can pick your own size…I saw recommendations for anything from a 12” napkin up to 18”.
So, with that, I adapted what I found and here’s how I made my napkins:
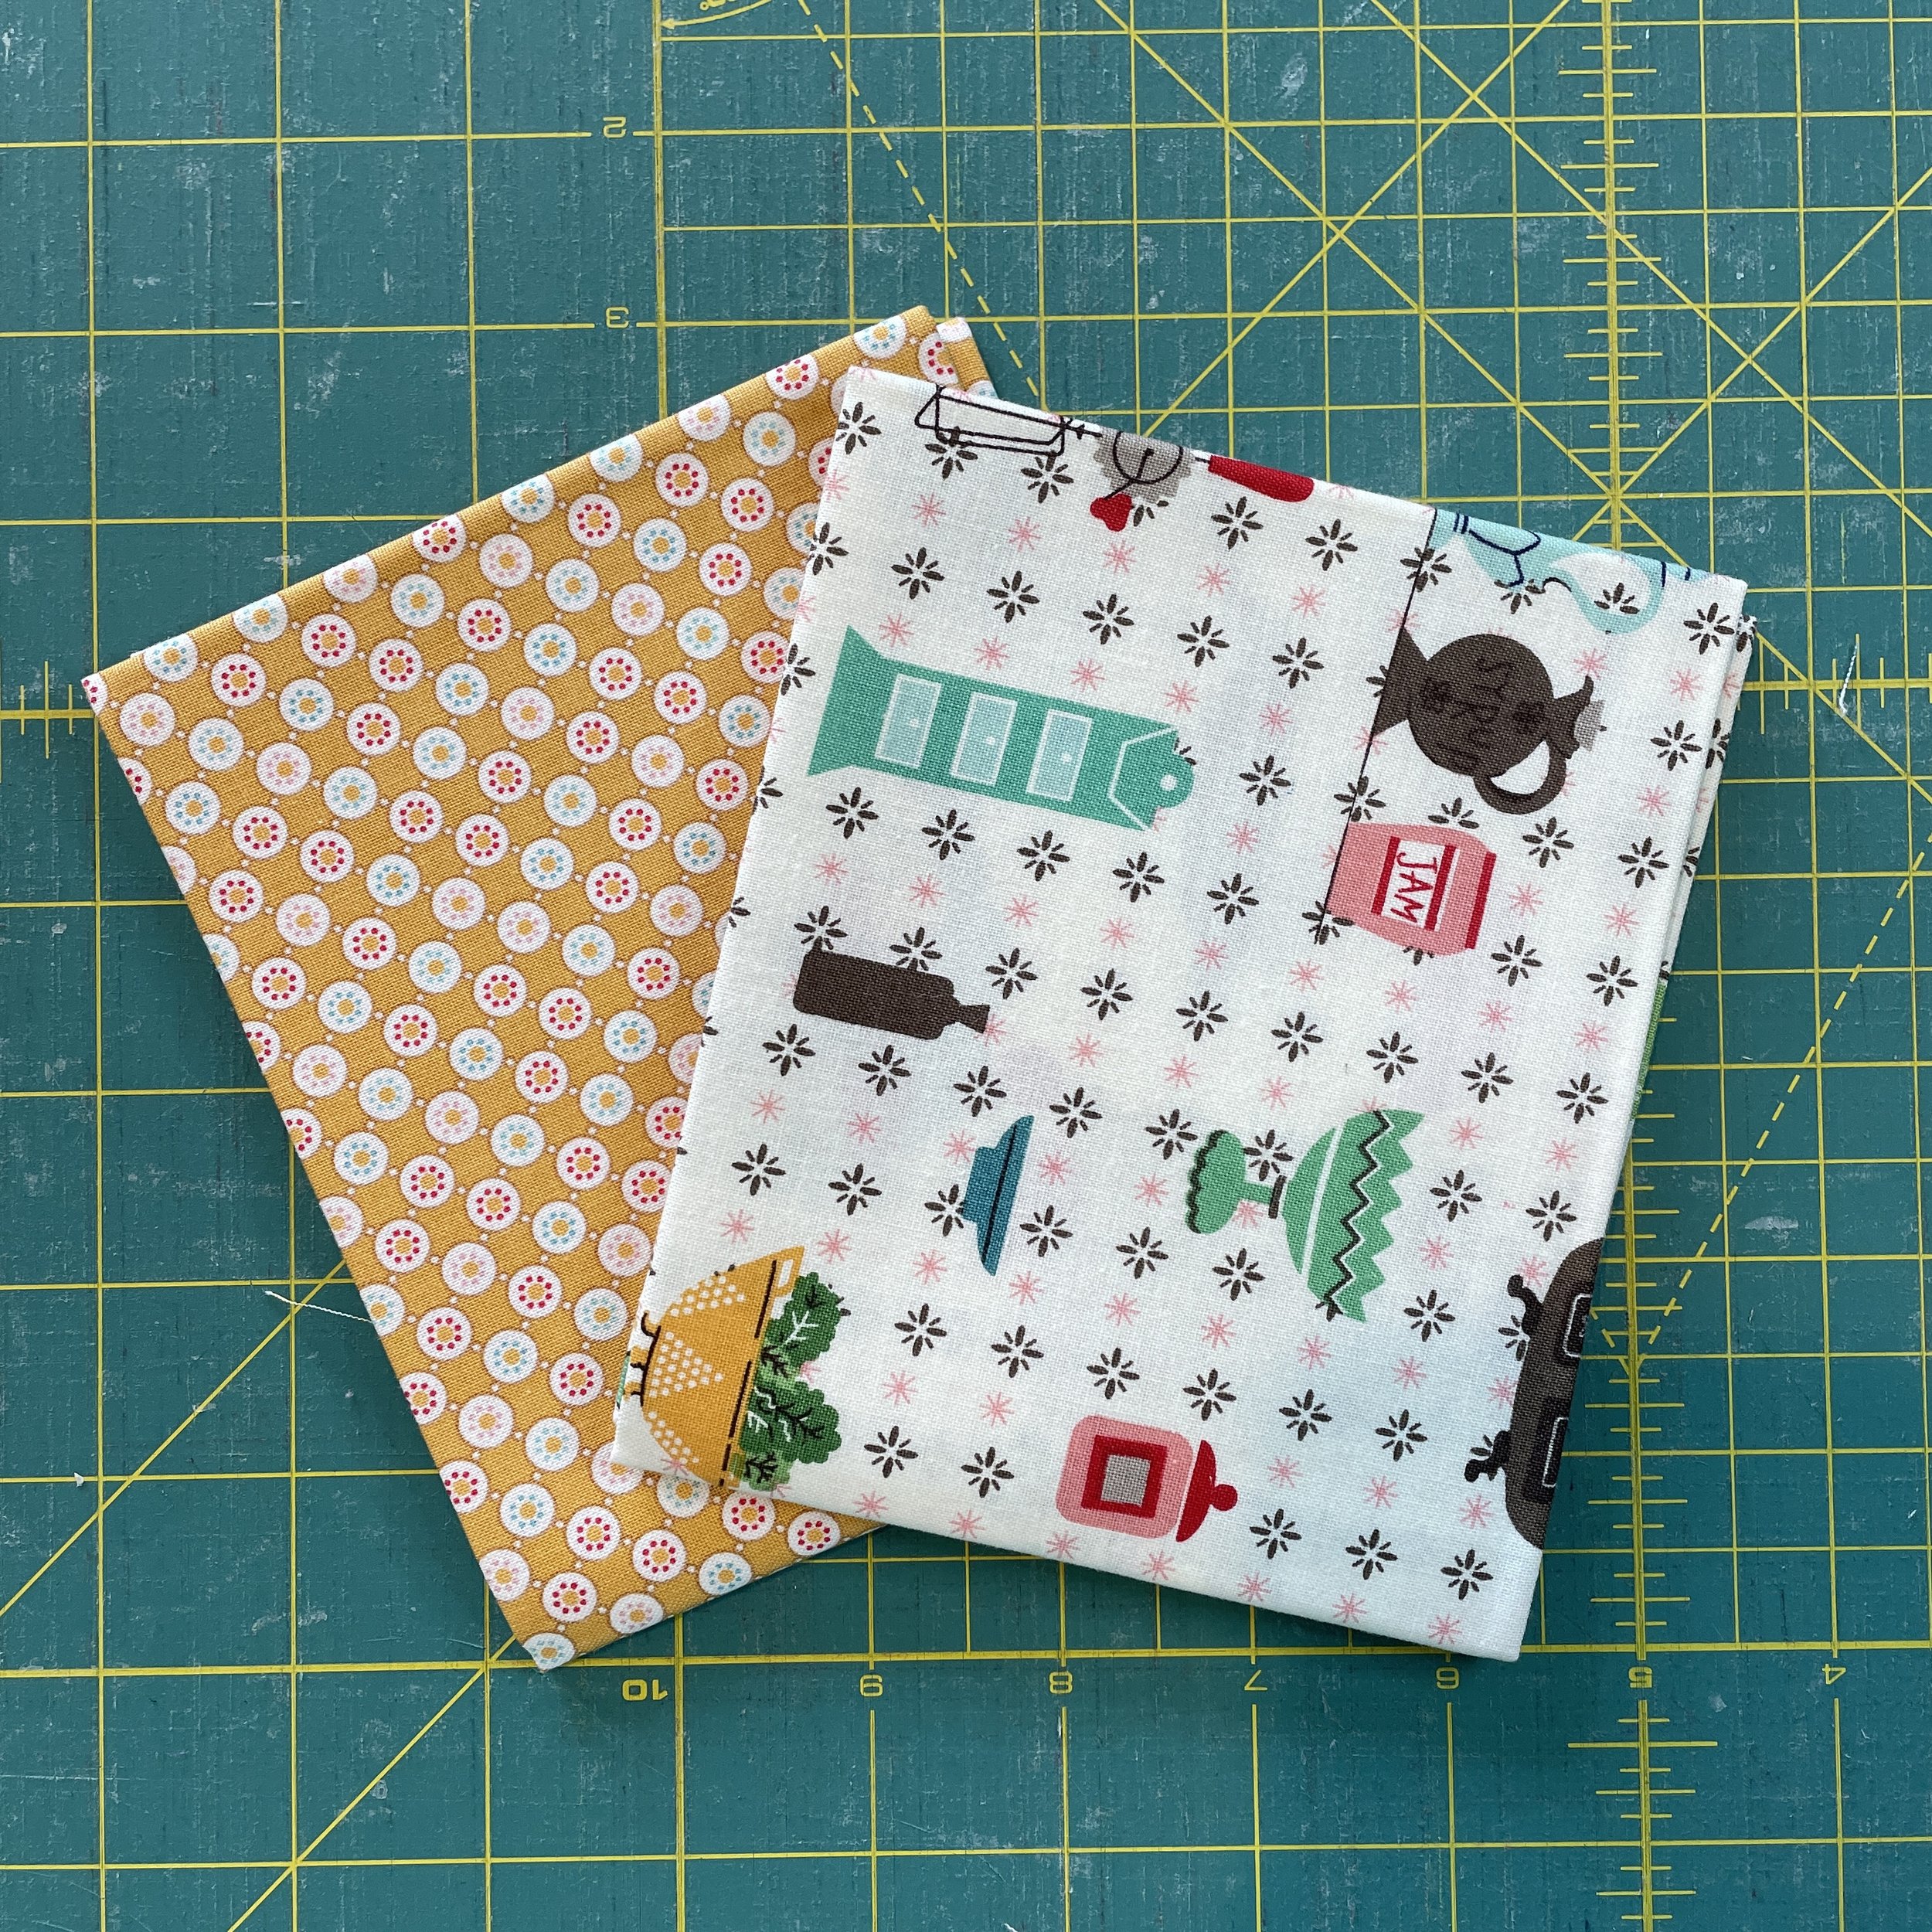
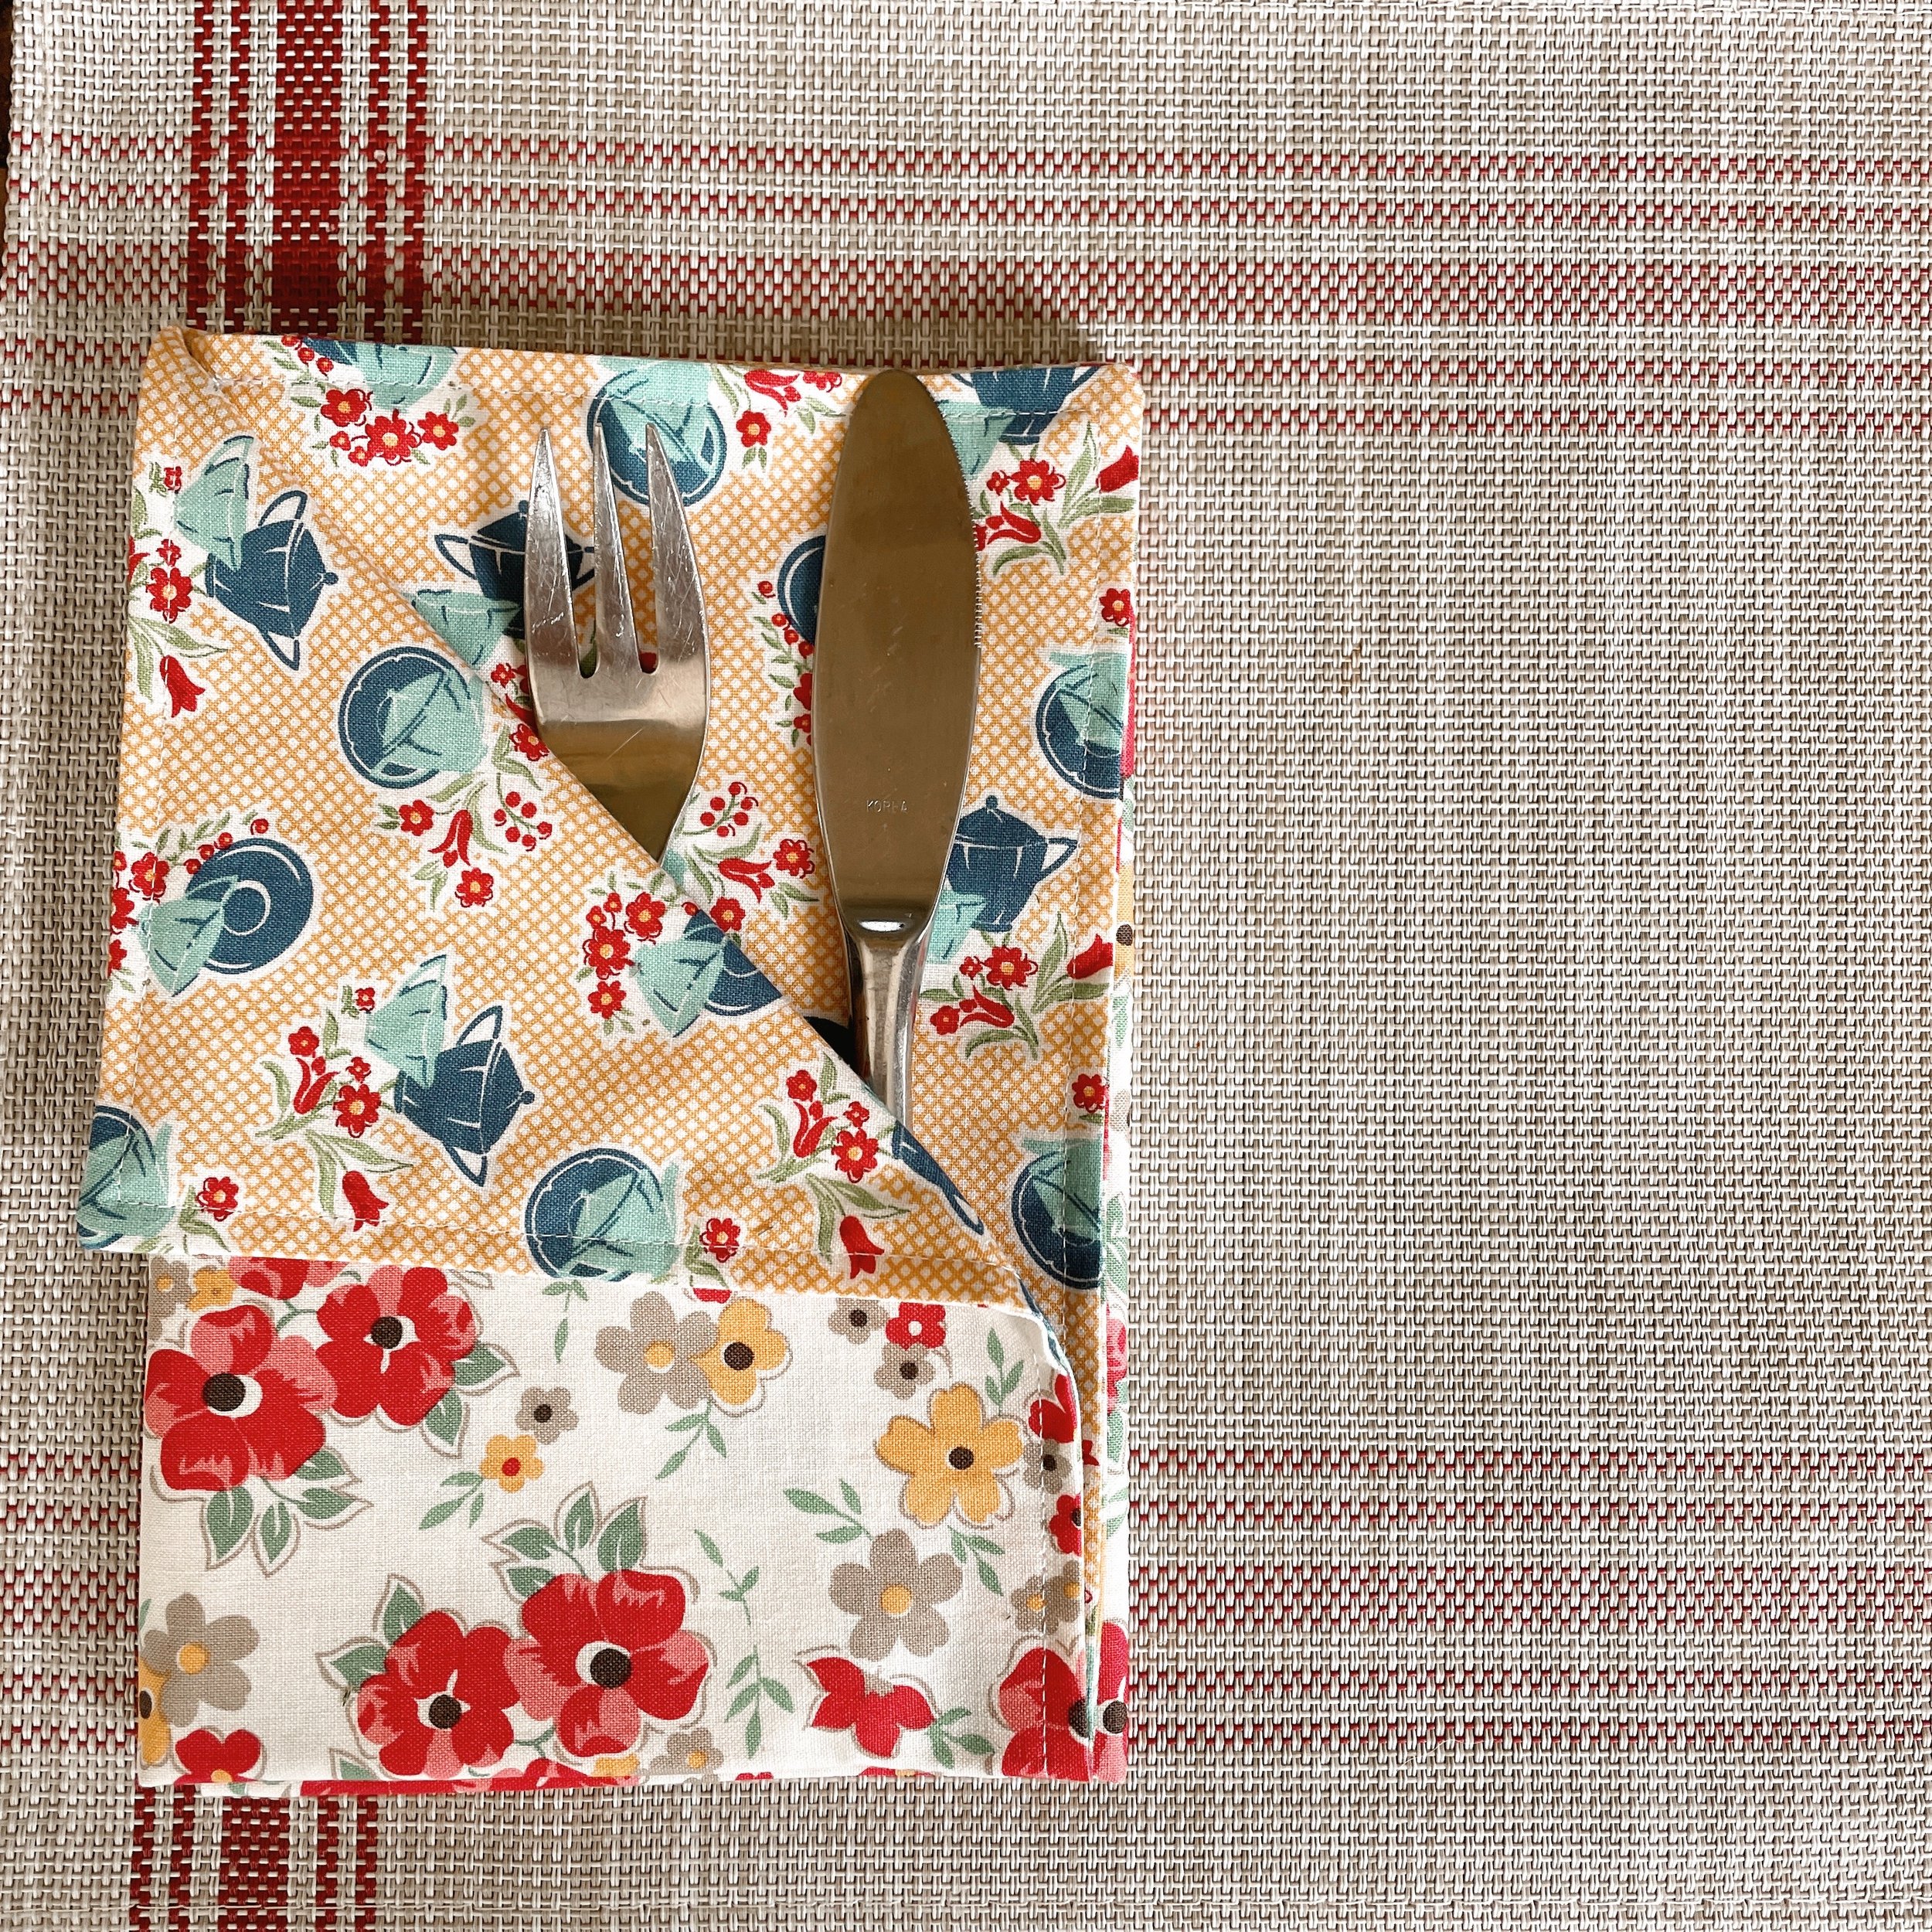
Select two fat quarters. Select/pair a light and a dark piece to pair. This will give you a nice contrast when you fold the napkins.
2. Press your fat quarters. Get everything nice and flat to assist you with cutting.
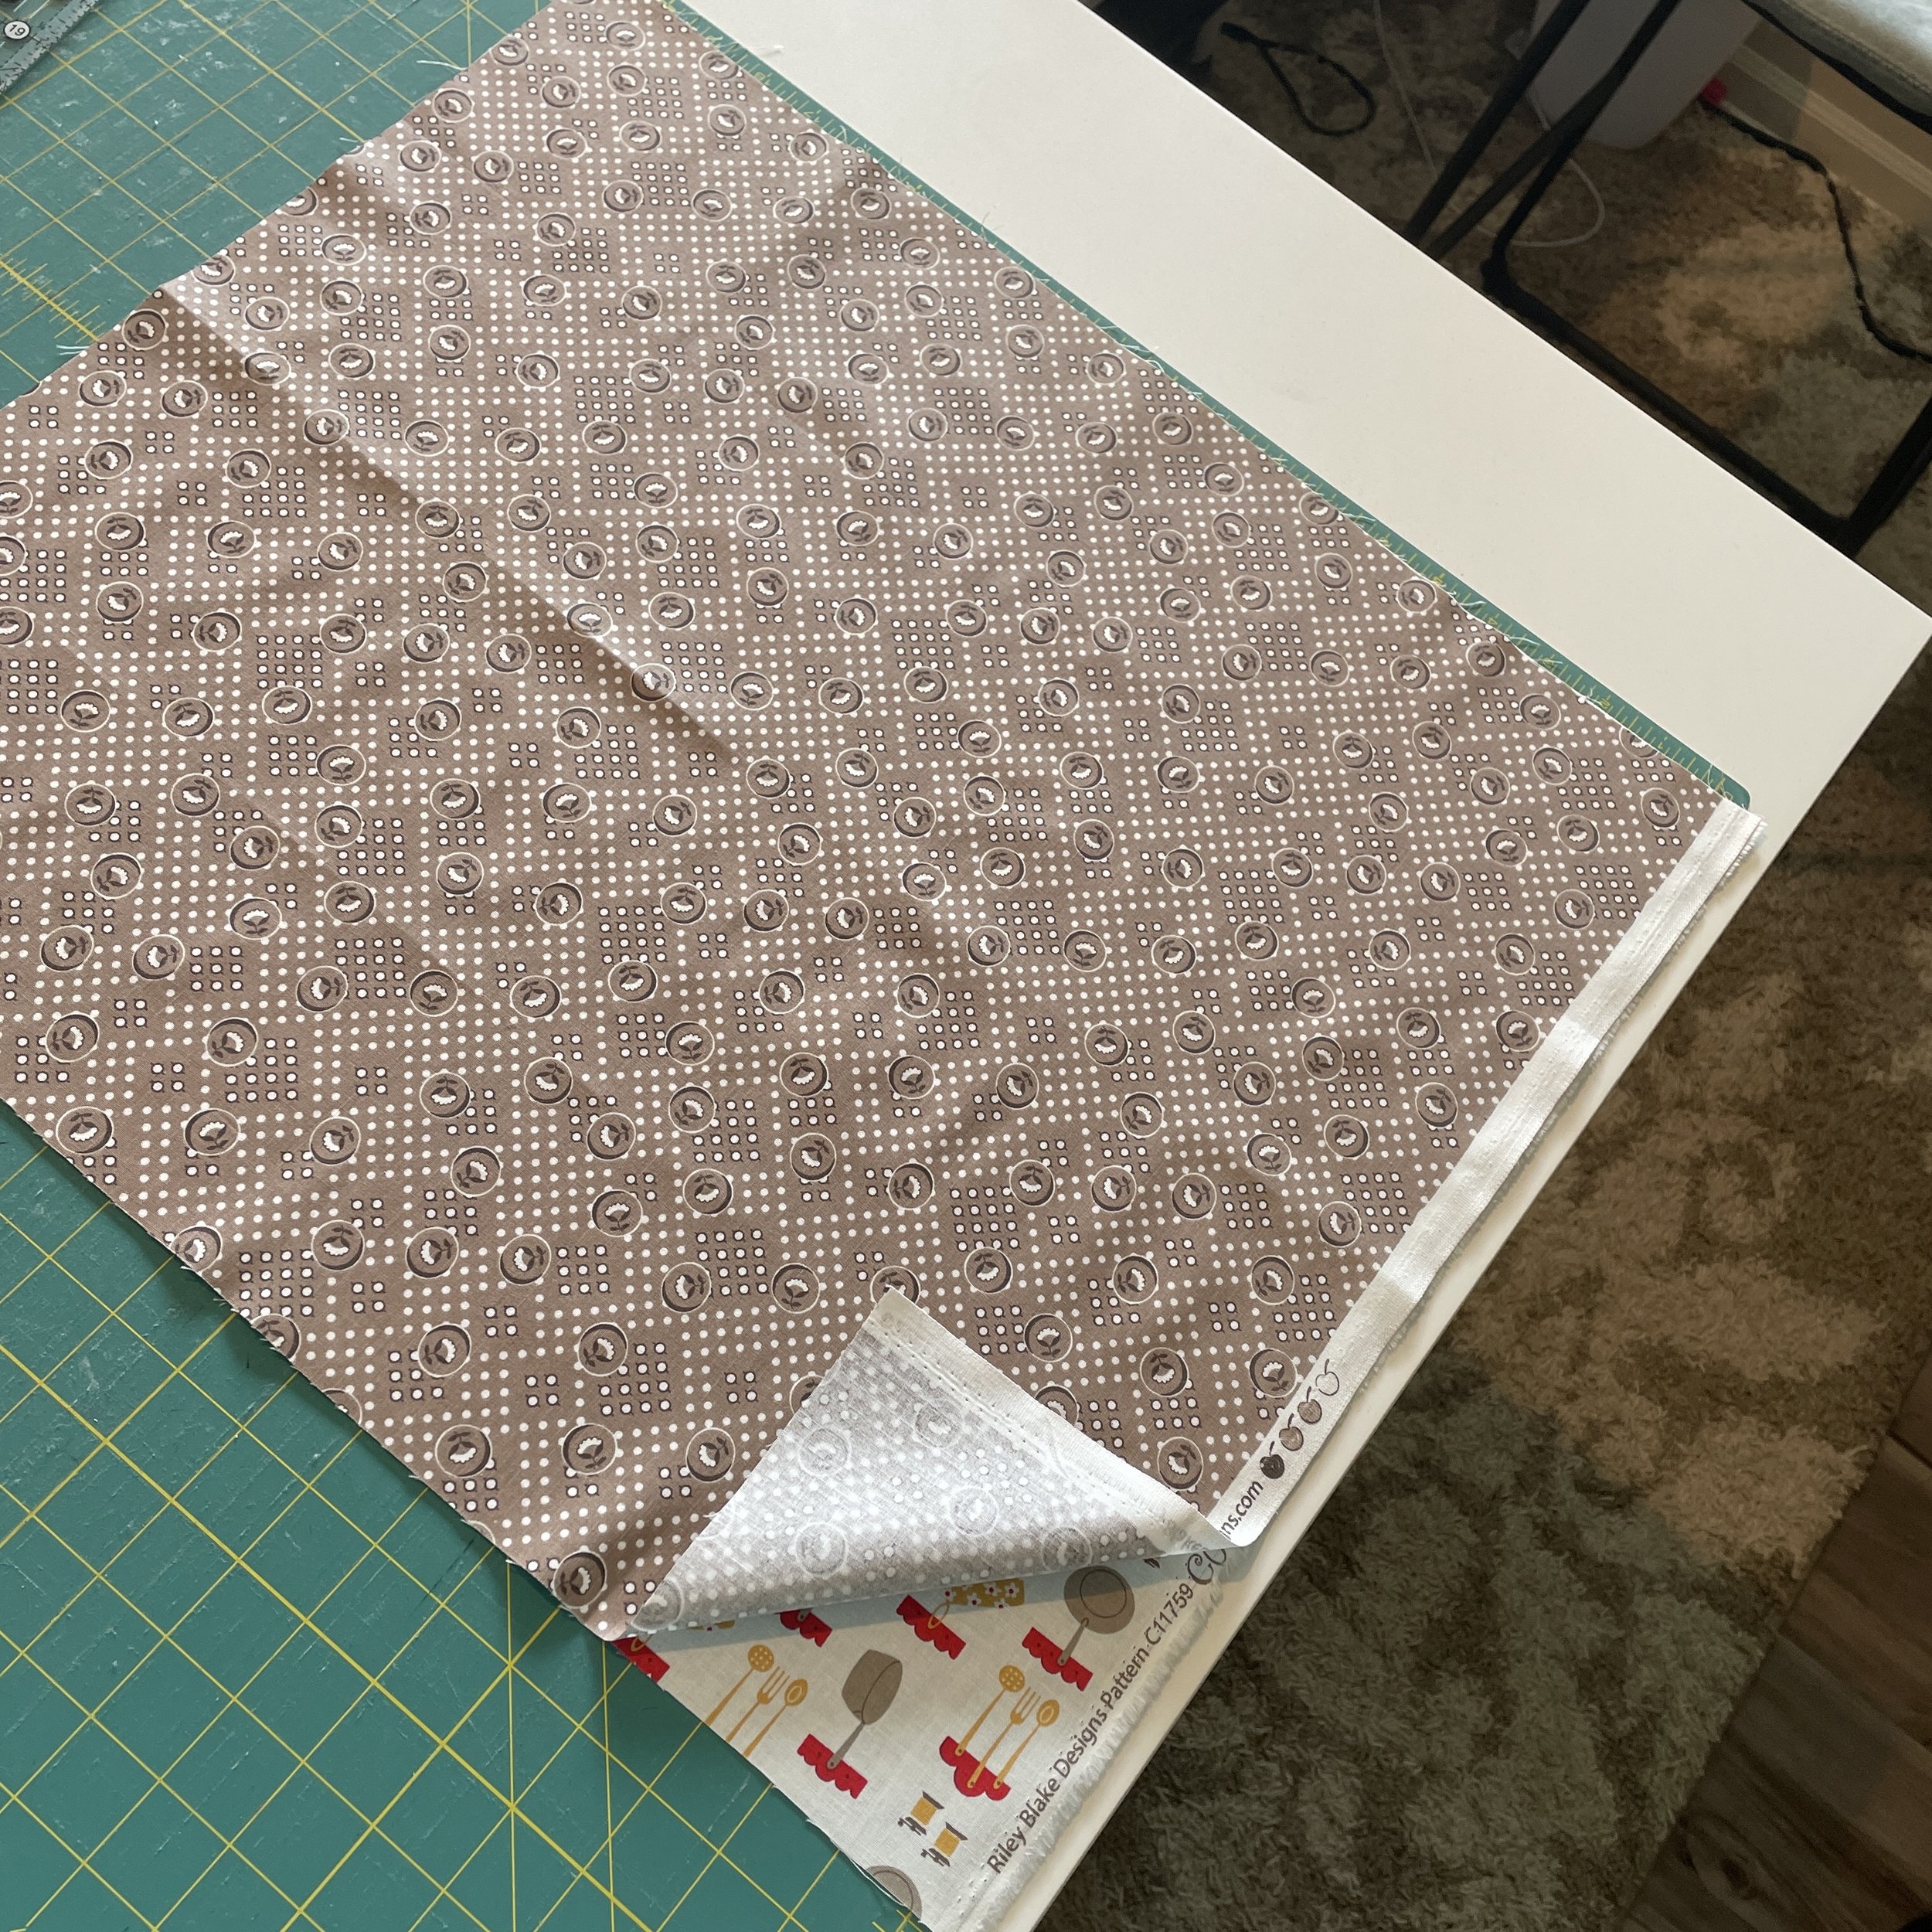
3. Cut your fat quarters a pair at a time. Put them right sides together and you won’t need to flip the material when you go to pin/sew.
Watching the alignment of the 18” side of your fat quarter cut to an 18” square.
I have had some fat quarters be just shy of 18” - if this happens, you can square to 17 1/2” and follow the seam adjustments in Step 5.1.
4. Pin as desired, right sides together. Leave a good size opening to flip right sides out.
I only pinned my opening start and stopping points.
I left about a 3” opening - again, do what you’re comfortable with.
5. Starting where you marked your opening, sew a 1/2” seam along all sides of your square. Stop where you’ve marked your opening’s stopping points.
If you trimmed to 17 1/2”, use a 1/4” seam along all sides. Follow the top-stitching adjustments in Step 7.1

6. Trim the corners to reduce bulk and press. Flip right sides out and using a tool (Awl, Purple Thing, etc.), “poke” out your corners. I worked the edges to where I was happy with their alignment and pressed again. Be patient here and take your time so your edges are straight and aligned with one another.
7. Top stitch 1/4” from the edge along all sides.
If you are using the 17 1/2” adjustment, top stick 1/8” from the edge along all sides.

8. Admire your work and repeat for the number of napkins you want for everyday use. Your napkins should be 17” square, but don’t worry if they aren’t!
Tip: Don’t skip the pressing, this will make your cutting and sewing more precise and easier. Because I take my time here, my napkins take a bit more time than some of the other patterns that claimed to take only 10 minutes.

The fabric line I used was Cookbook by Lori Holt for Riley Blake Designs. I made seven napkins for our home; five for our use and two for guests. Think about your family size, how often you entertain, and how many people you usually have over as guests when deciding how many to make.
I’m planning to use the remaining fat quarters to make a matching table runner. My scraps are a good size that they may get used in that project or who knows, matching coasters anyone?
These napkins are easy to make and you can quickly work up a set for you or for a gift in a day. However, if you’d like a different napkin pattern, below I’ve included links to the patterns I saved and liked the best from my research:
Let me know what you think and if you make a set, tag me on Instagram (@oh_hellojenny) and use the hashtag #ohjfatquarternapkins .