April Oh, Hello Done! Goal Complete - Pattern Review
I did it! I completed the piecing of my Big Sky Quilt - my second third goal.
This past March and April we’ve worked to complete one project by dividing it up into thirds and giving a third to each month. In March, I cut all my pieces. In April, I completed the top. This May it’s off to the quilter and binding (Hopefully - these goals I set pre-COVID. However, I am setting myself a goal to finish my February goal quilt - my Hexagon quilt as well in case the quilter can’t get to my quilt.)
So, without further ado, here’s is my Big Sky quilt top!
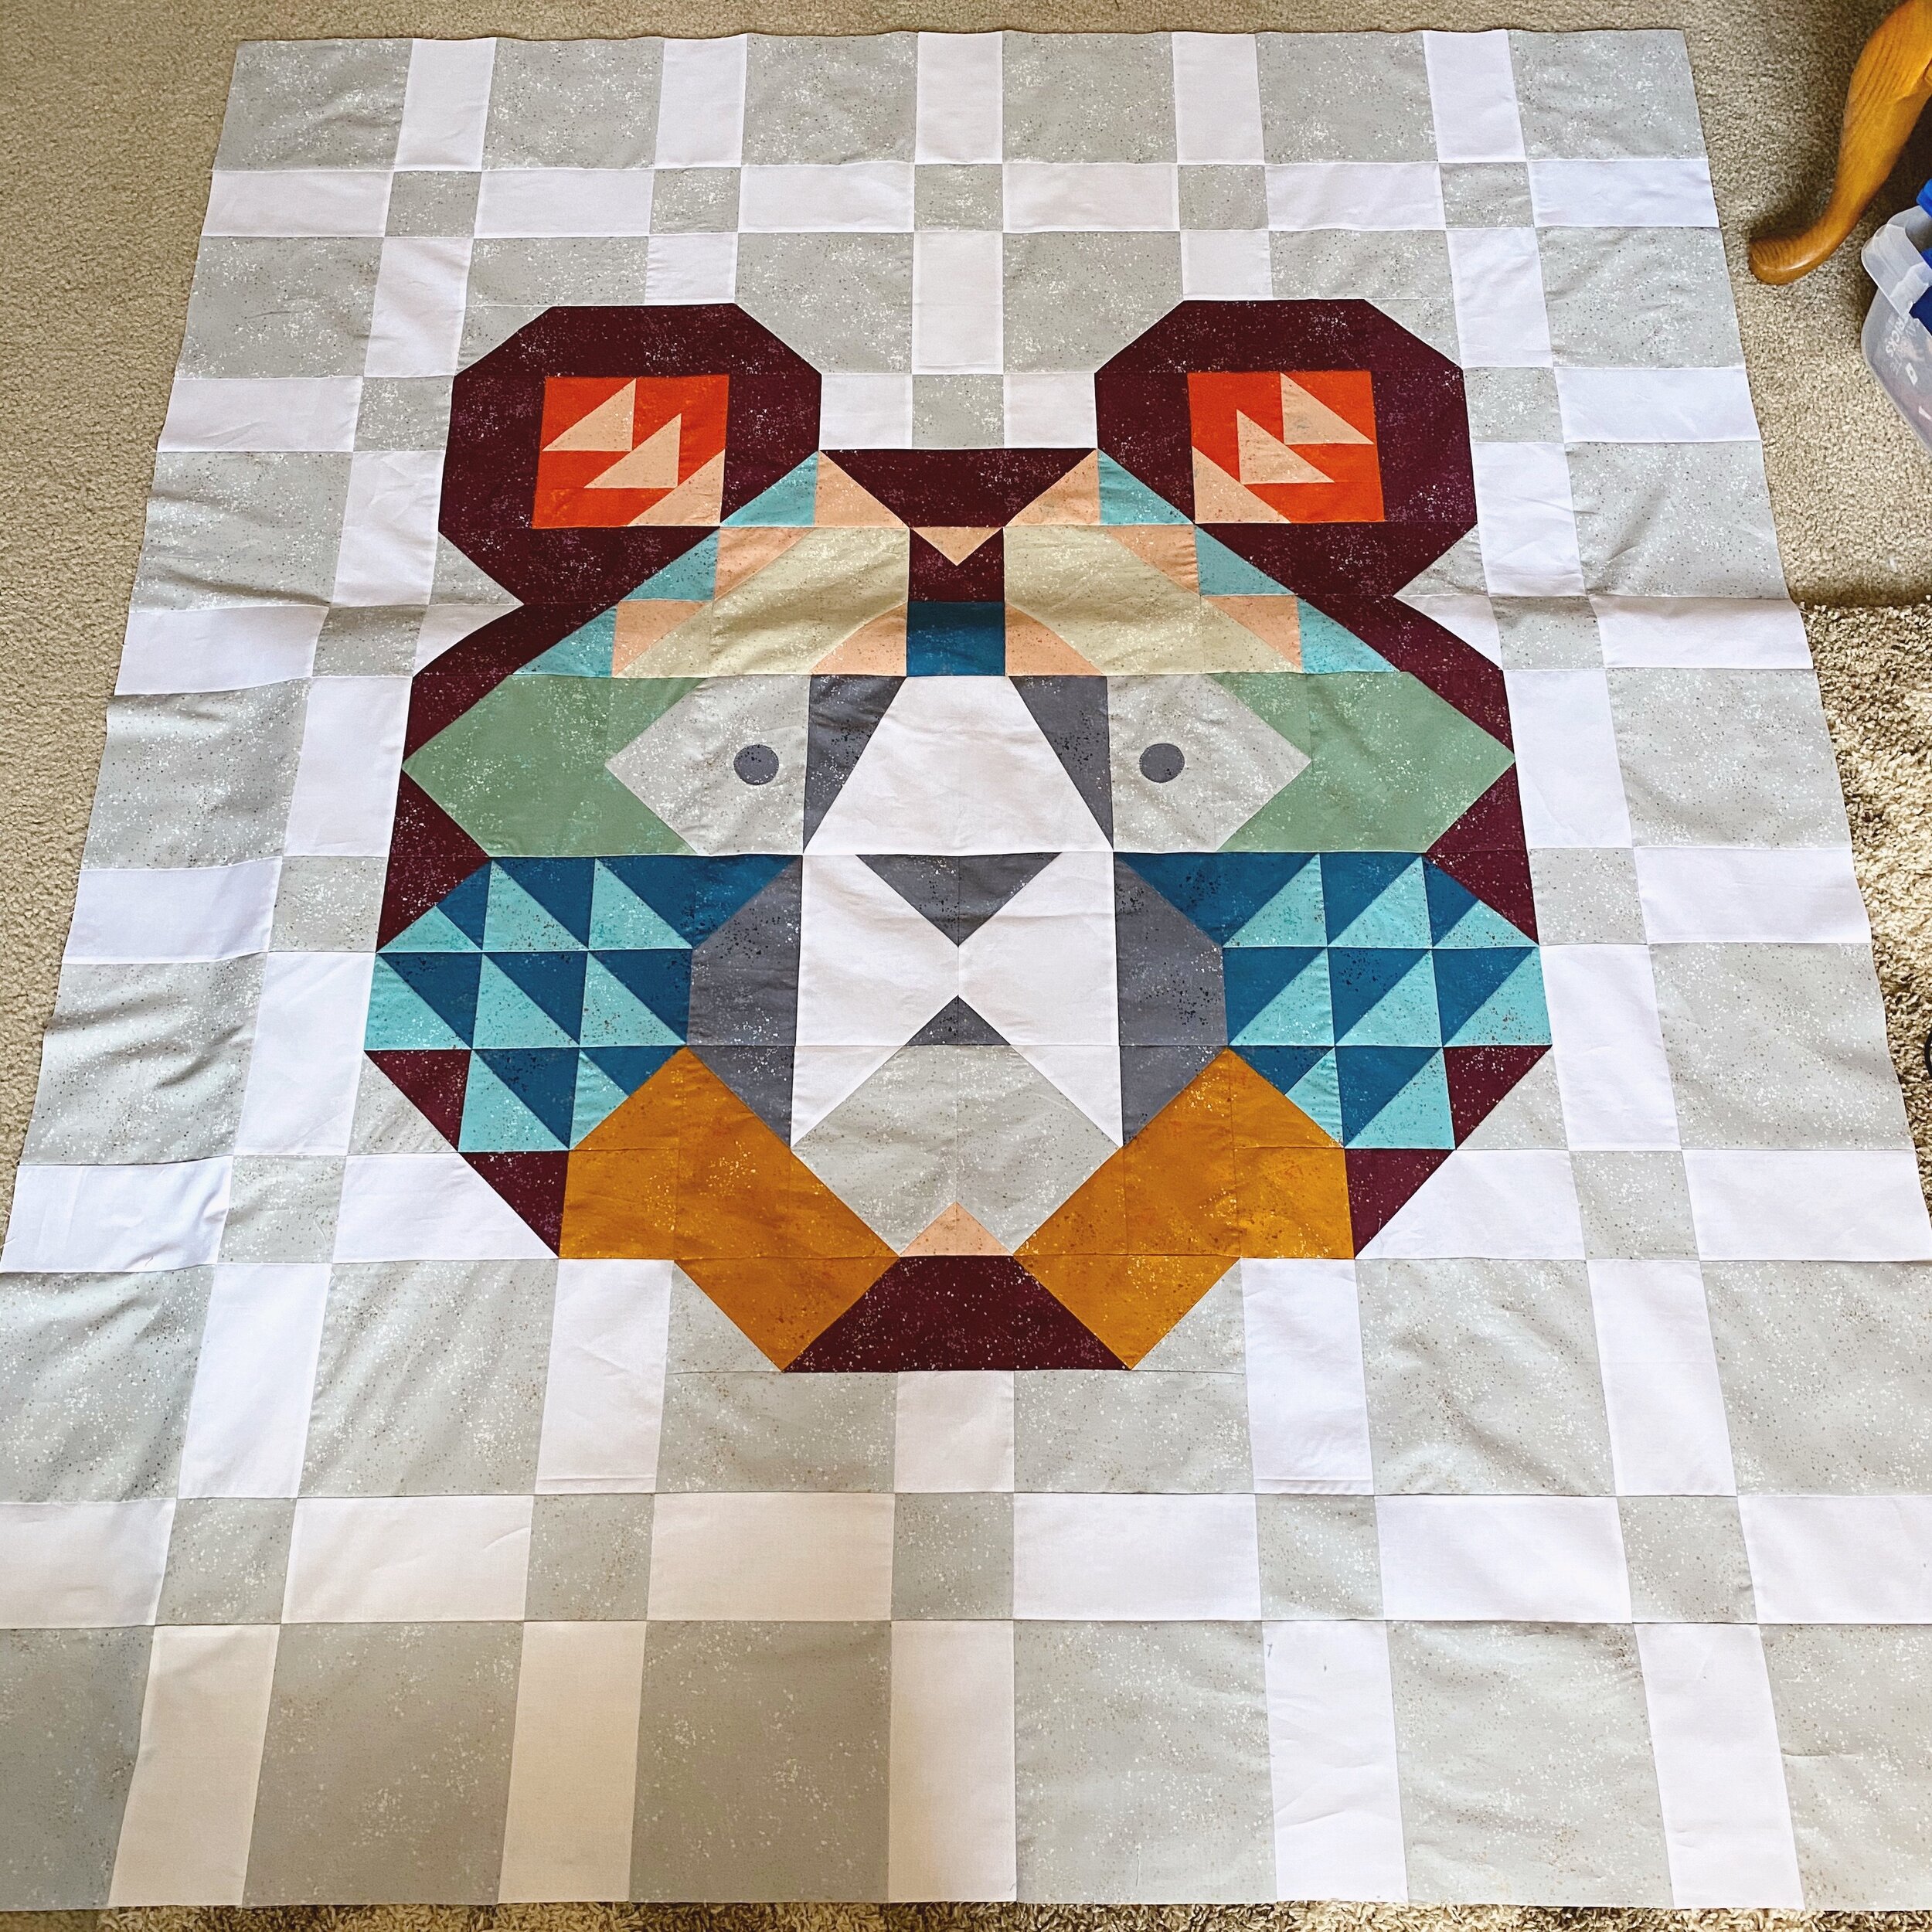
He turned out really cute, didn’t he? I used material from the Ruby Star Speckled Collection. It is gorgeous! I hope you all had a chance to catch some of my Instagram stories as I was posting updates - I showcased some of the collection there as I was sewing along. The solid white is from Painter’s Palette.
While the end results turned out cute and I’m happy with the result, it will not be a pattern I’m making again.
If you remember from my March write-up, there was a lot of waste - a lot of left over material. In fact, I think I could get another quilt out of it. The material requirements really could’ve been refined more. While I do like a bit extra to allow for mistakes, this was too much and added extra cost to the project that was not needed.
Next, the half square triangles (HST) were not given any extra allowance to enable you to square them up. You would have had to cut precisely as well as had a perfect 1/4” seam every time for the HSTs to be exactly the right size the pattern required.
Needless to say, I’m not that good. And, I always square my HSTs - therefore, mine ended up being about an 1/8” shorter than what they needed. However, I used my machine’s feed dogs to my advantage and worked a lot of that out. However, this was a lesson to me to always read through patterns all the way through prior to cutting. And especially if I breakdown working on a quilt in this manner again. I absolutely had enough to cut my squares bigger so I could use my Studio 180 - Deb Tucker Tucker Trimmer to trim down and make my HSTs the precise size they needed to be.
Finally, there were not instructions for what direction to press the seams when piecing the top together (there were a few instructions, more on that later). Now, there were many pieces I wanted to nest - however, to do that you need those seams to each go a different direction (one left and one right). Without instructions, I made guesses and as I started to go row-by-row I did my best, but sometimes I’d have to repress a seam and change direction. The pattern did recommend to press the seams open between the rows. However, I didn’t do that so that I’d have nesting help with the border. Also, there weren’t so many seams I ended up with thick seams - everything was still laying fairly flat. But, in the end, this added unnecessary time to my completion as I had to stop and guess what was best to do.
So, the final verdict - I won’t be making this quilt again - so, congrats cousin, you’re getting a one-of-a-kind quilt from me! If you do decide to give this pattern a go - cut your HST squares bigger, and map out our seam directions first. It’ll save heart ache in the end.

Overall I have enjoyed breaking down a project and spacing out the completion over a few months. It helps keep the boredom with the project at bay and allows me to spend time with other projects and keep my mind going and creating. This has been good during this quarantine time - I’ve been lucky to have the mojo going and enough projects to keep my mind active.
What do you think - have you enjoyed breaking a project down into thirds to complete it? Do you have other ways you break down a project? Share in the comments below your tips and how you’re coming along with your 2020 goals!
Here’s to a great May!