Finished Quilt Interruption - Puff Quilt
This summer I had a fun Puff Quilt pop-up in my Instagram Feed. This quilt was from Brittany at Lo and Behold Stitchery. She was hosting a Quilt-A-Long and thanks to a fun tutorial video and a free pattern, I decided to play along.
I didn’t finish during the Quilt-A-Long, but I did get this quilt completed and off to its new home.
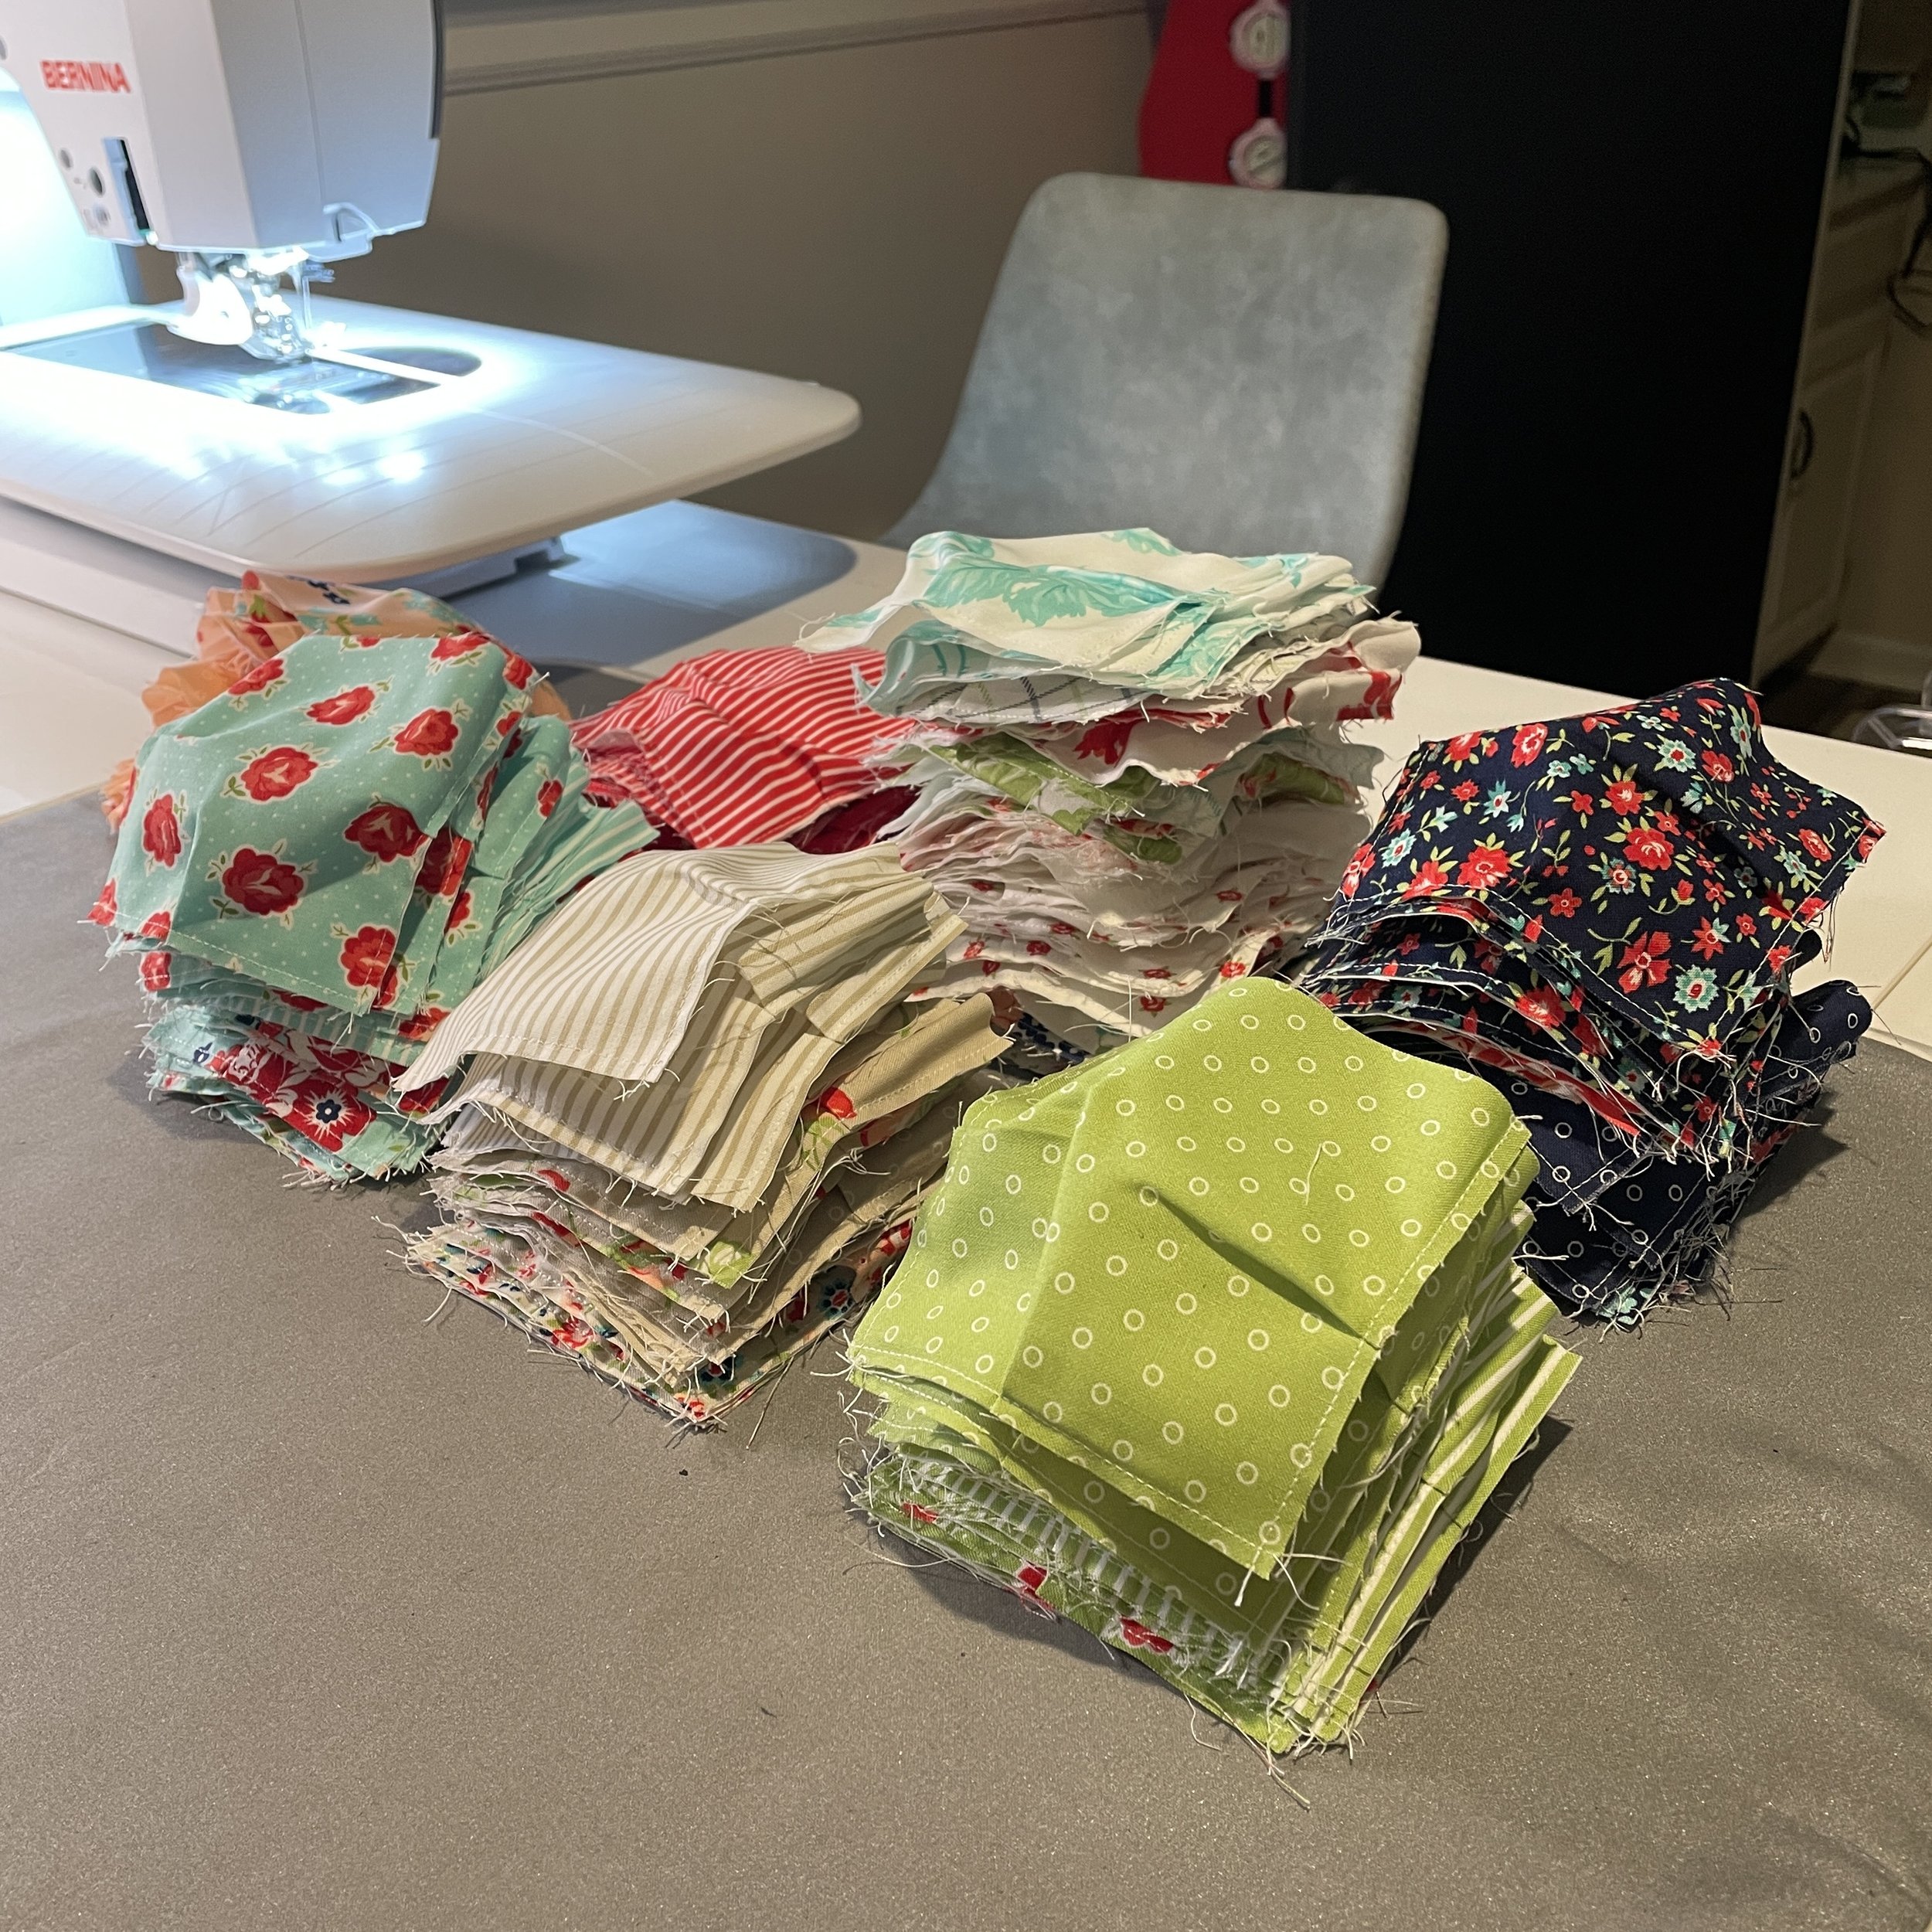
I challenged myself with this quilt to use supplies from my stash; I found a layer cake and enough batting to complete the quilt. The only items I purchased were the minky (backing) and the poly-fil for the puffs.
Brittany’s pattern didn’t give a layer cake equivalent for material requirements. I knew I wanted to make the baby quilt and when I did the math, I would be able to do that plus a little extra from a layer cake.
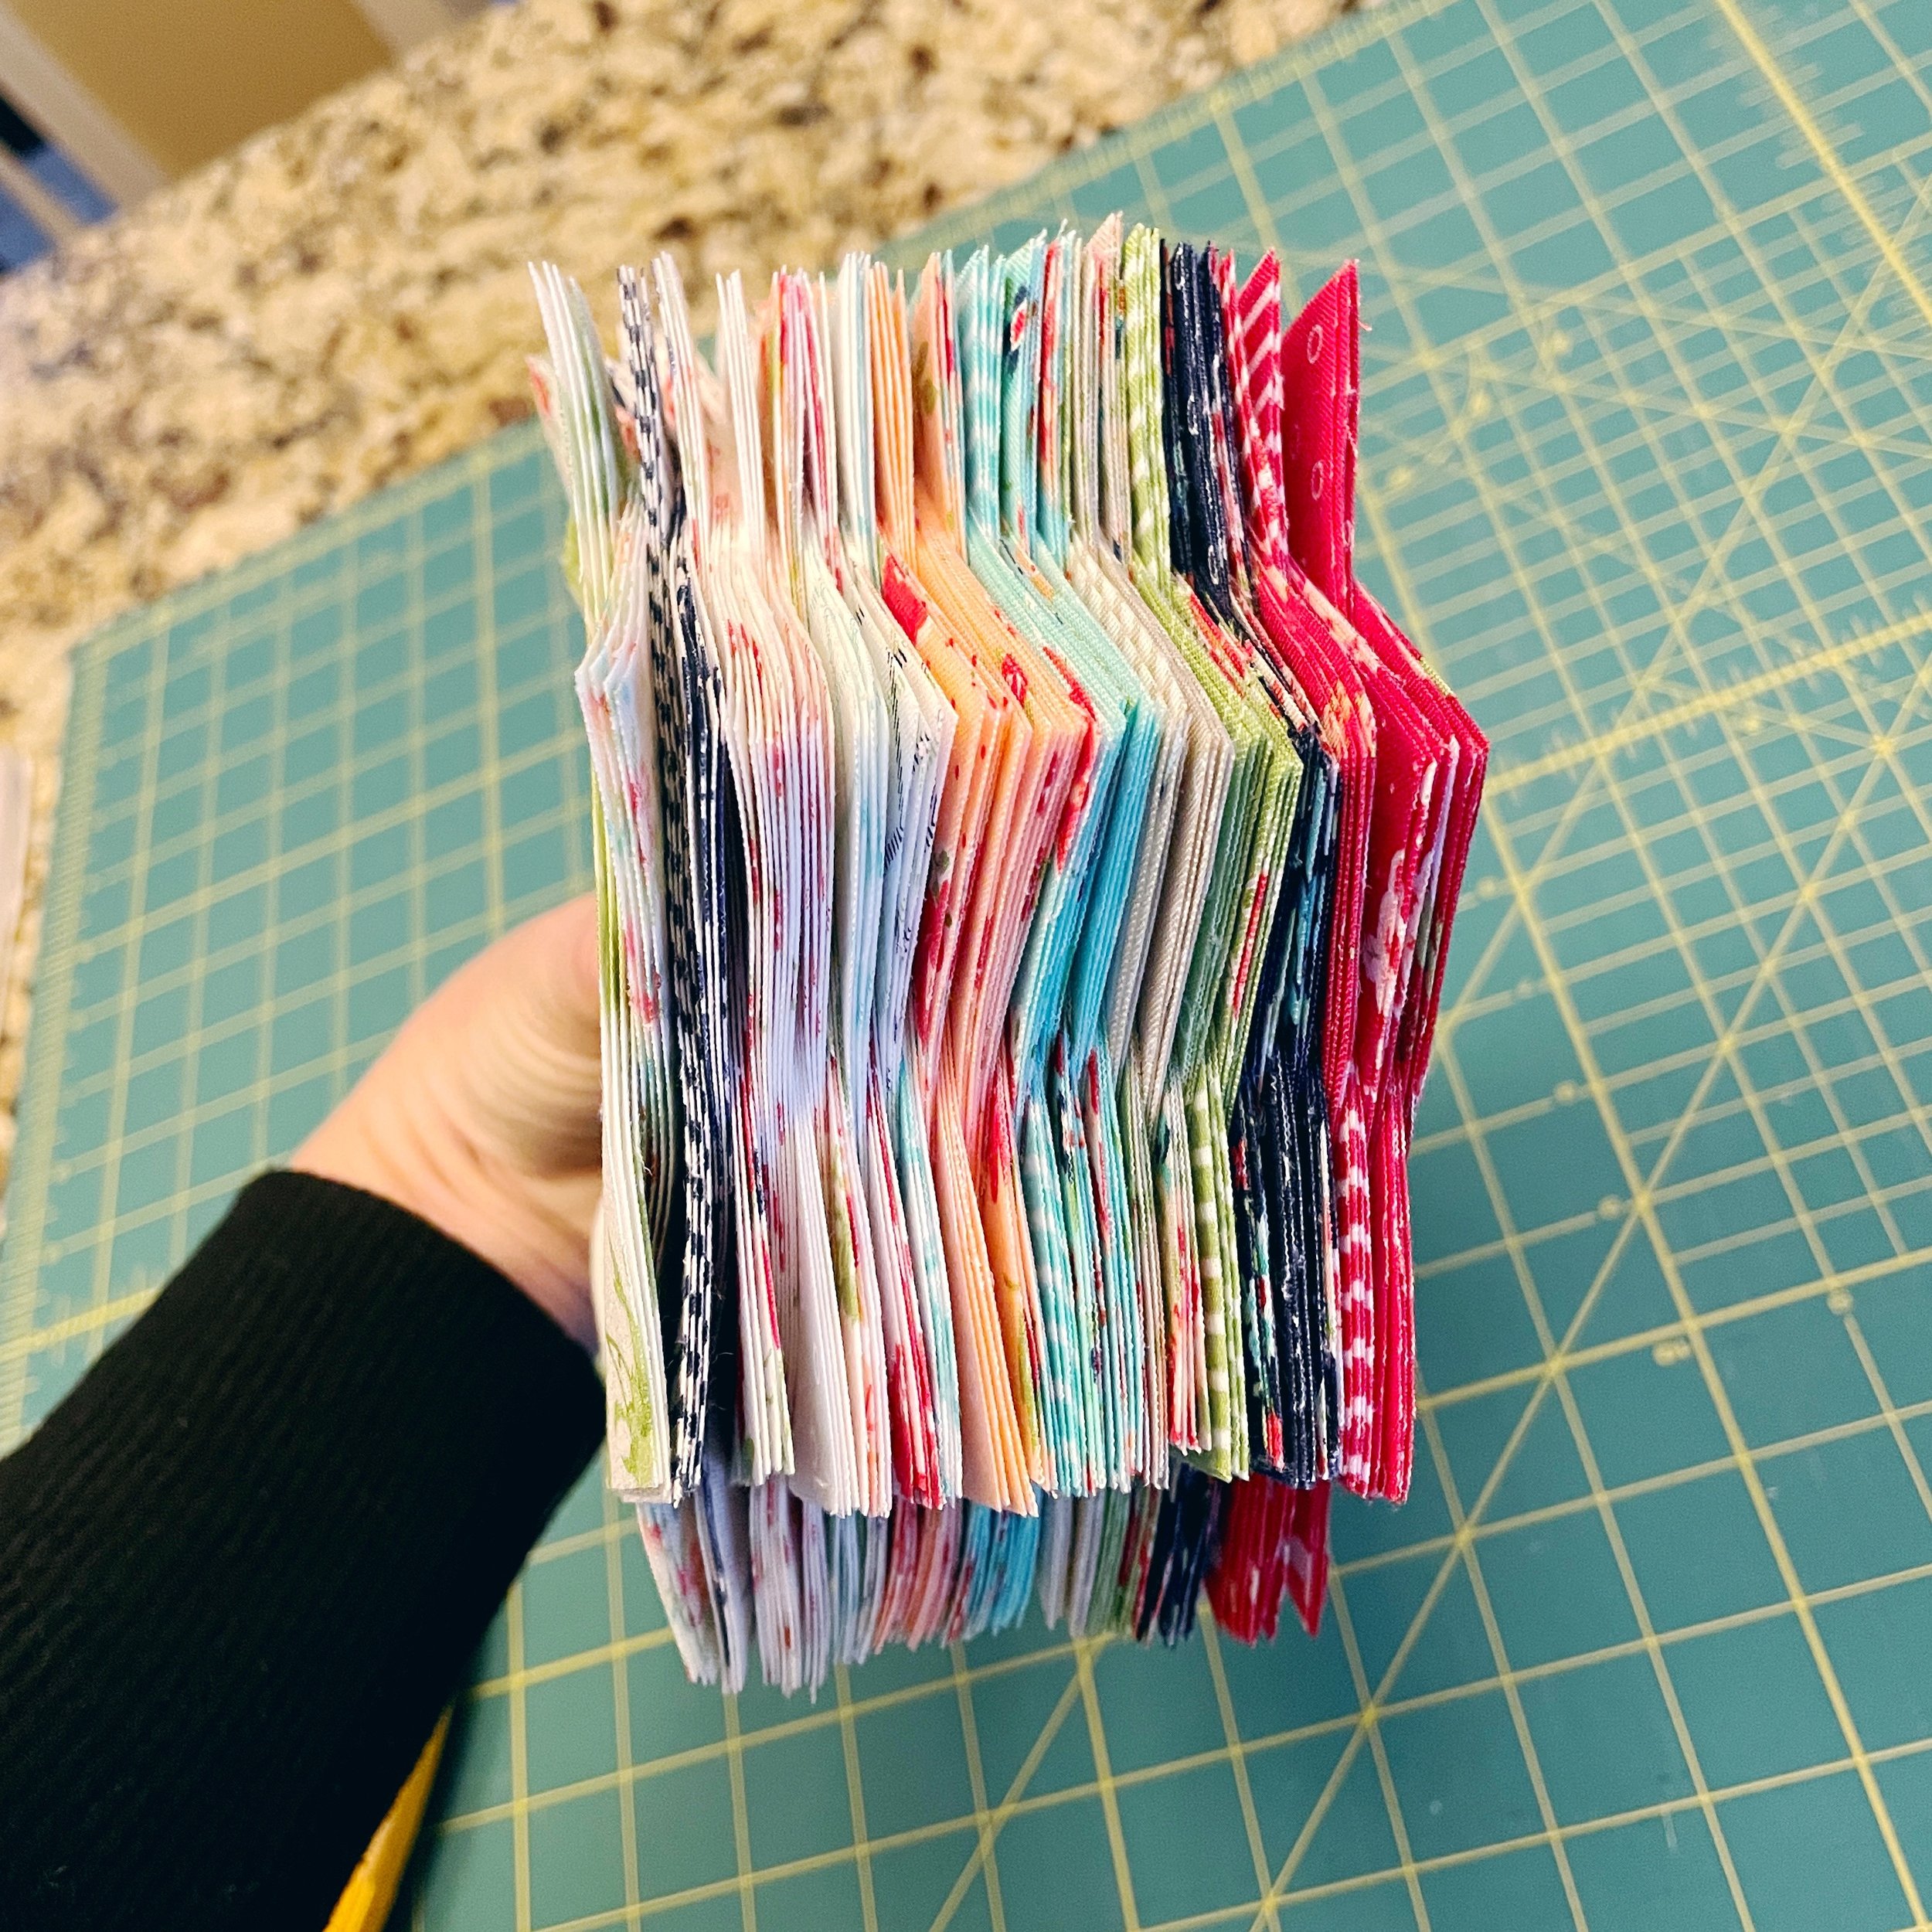
I ended up getting 4 squares per 10” square and instead of a 12x12 block baby quilt, mine ended up being 12x14.
I found myself getting into a rhythm sewing the larger blocks to the smaller blocks. Like a Jelly Roll Rug, this is another project that’s fun for just sitting down and sewing. I also learned you can get too much stuffing in a puff and that was the biggest learning I had in making the quilt. It is an art to get just the right amount of “puffiness.”
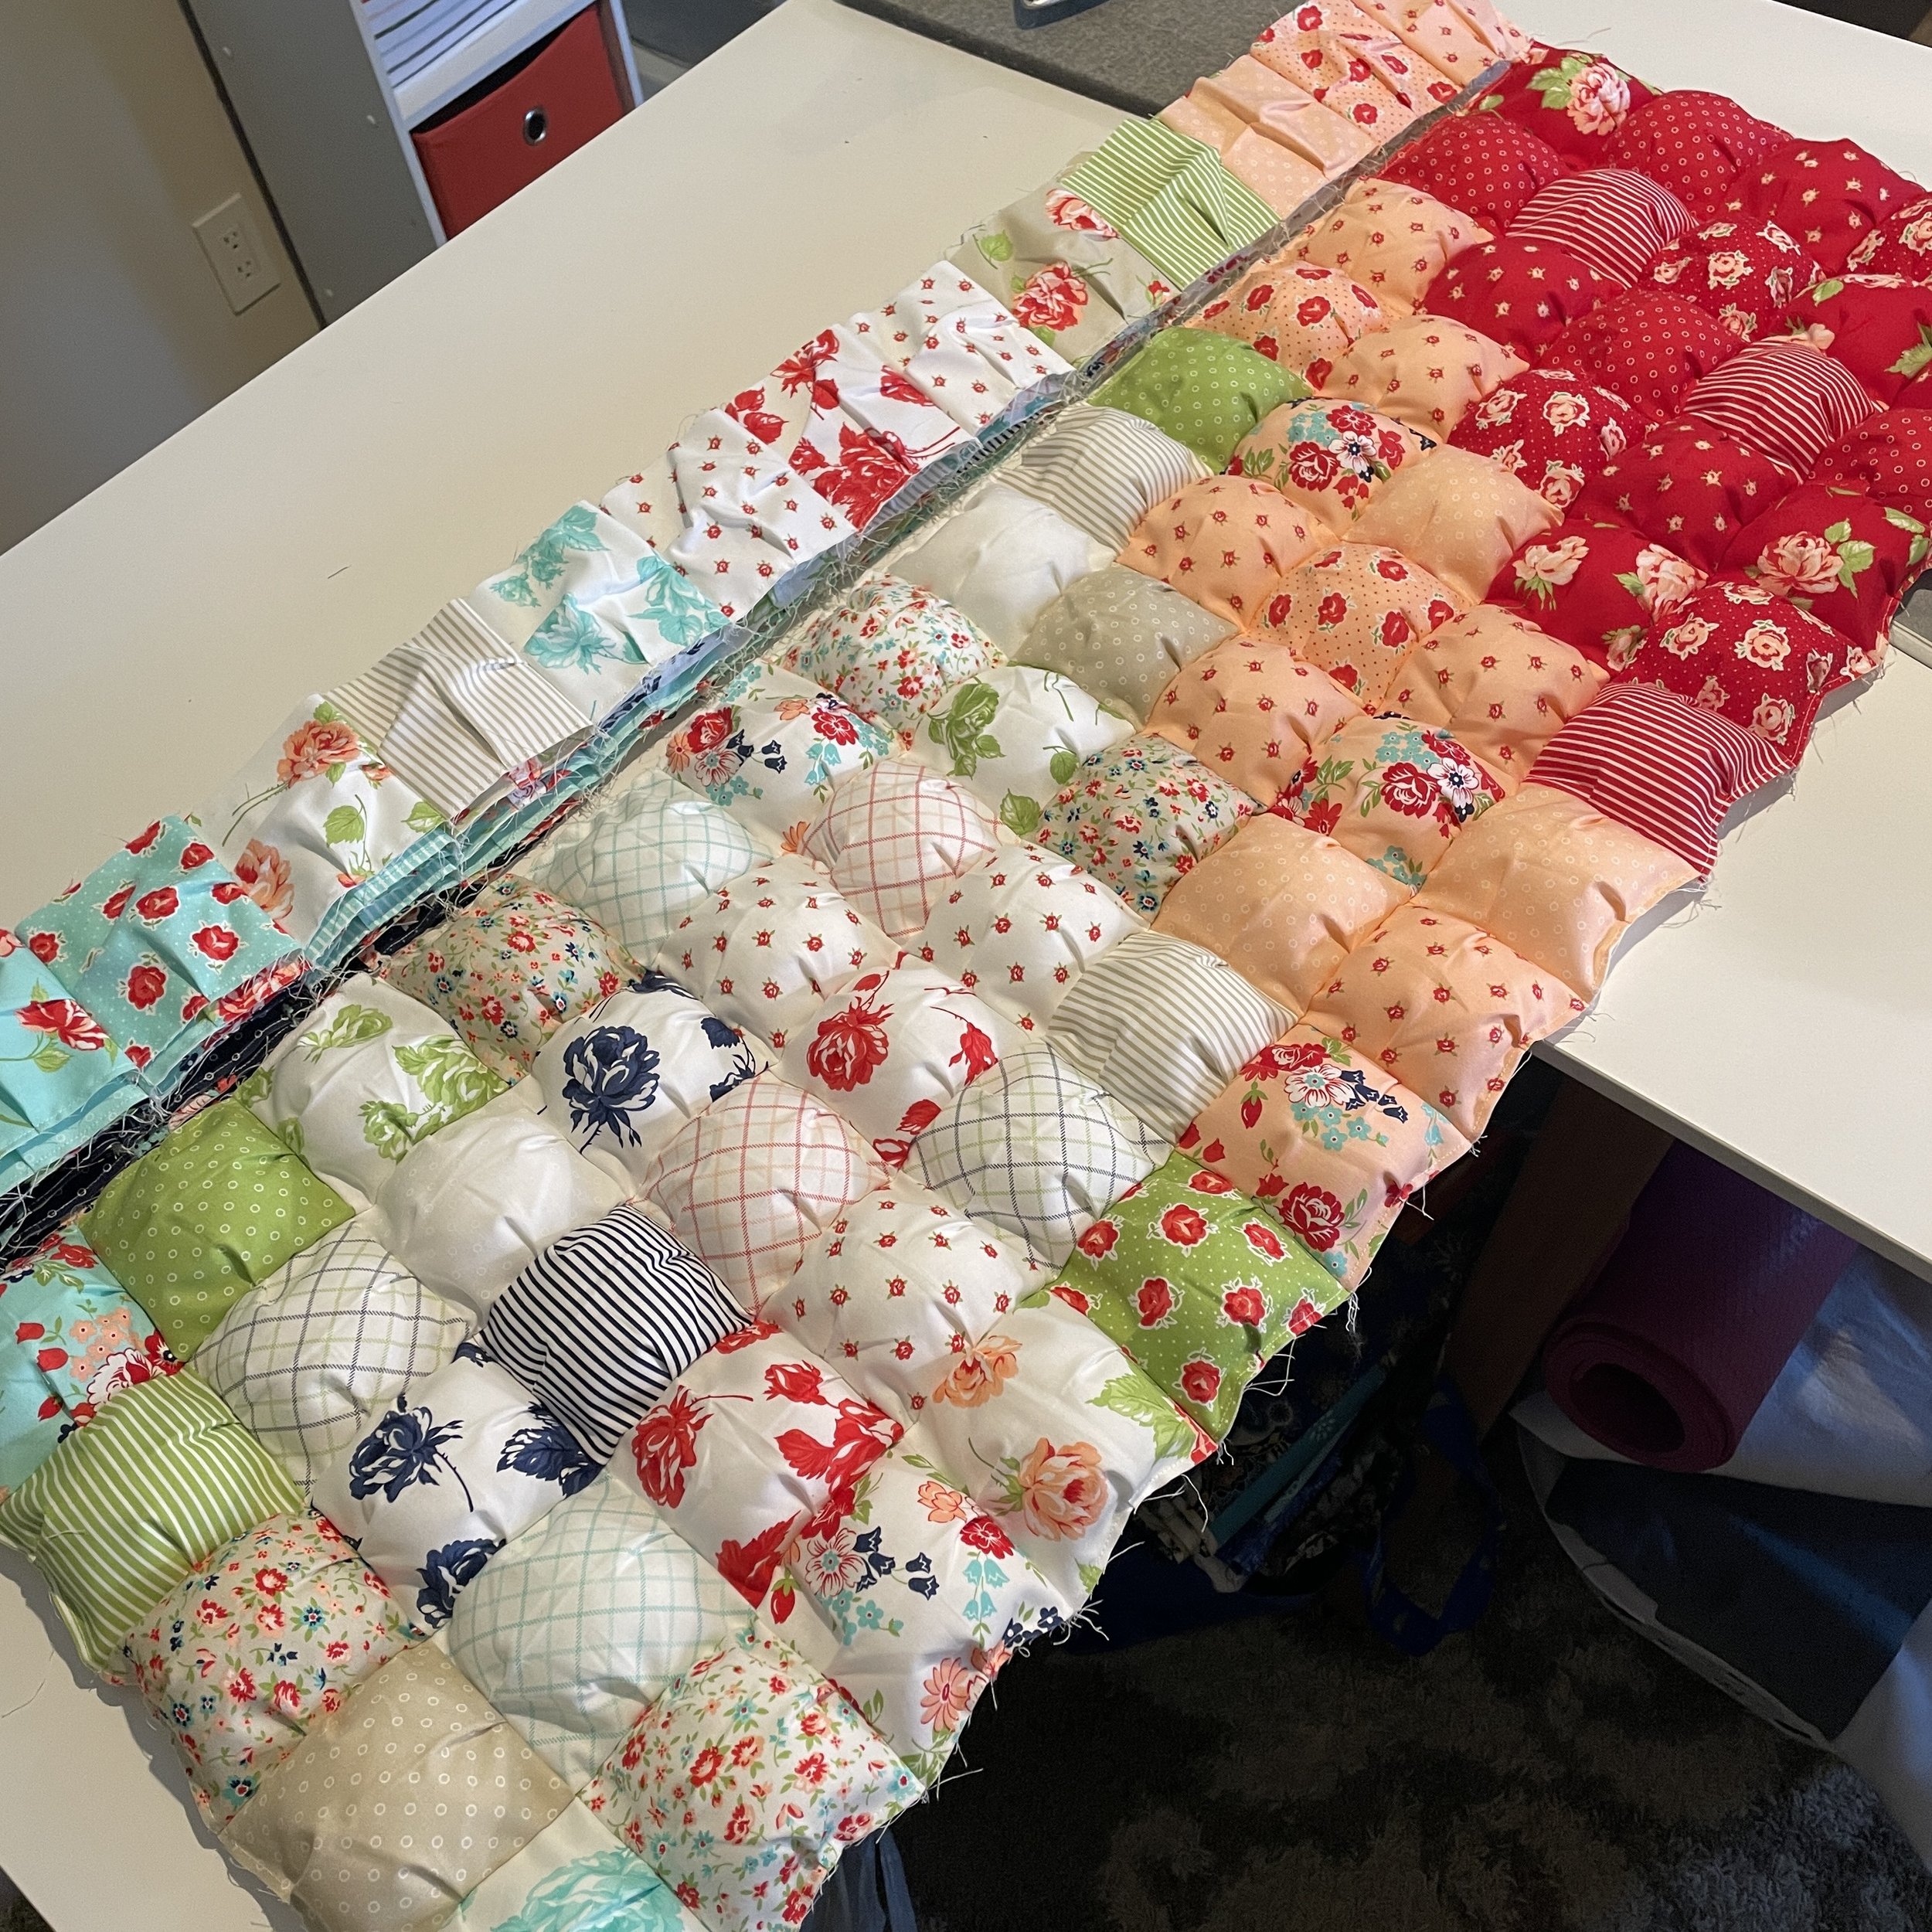
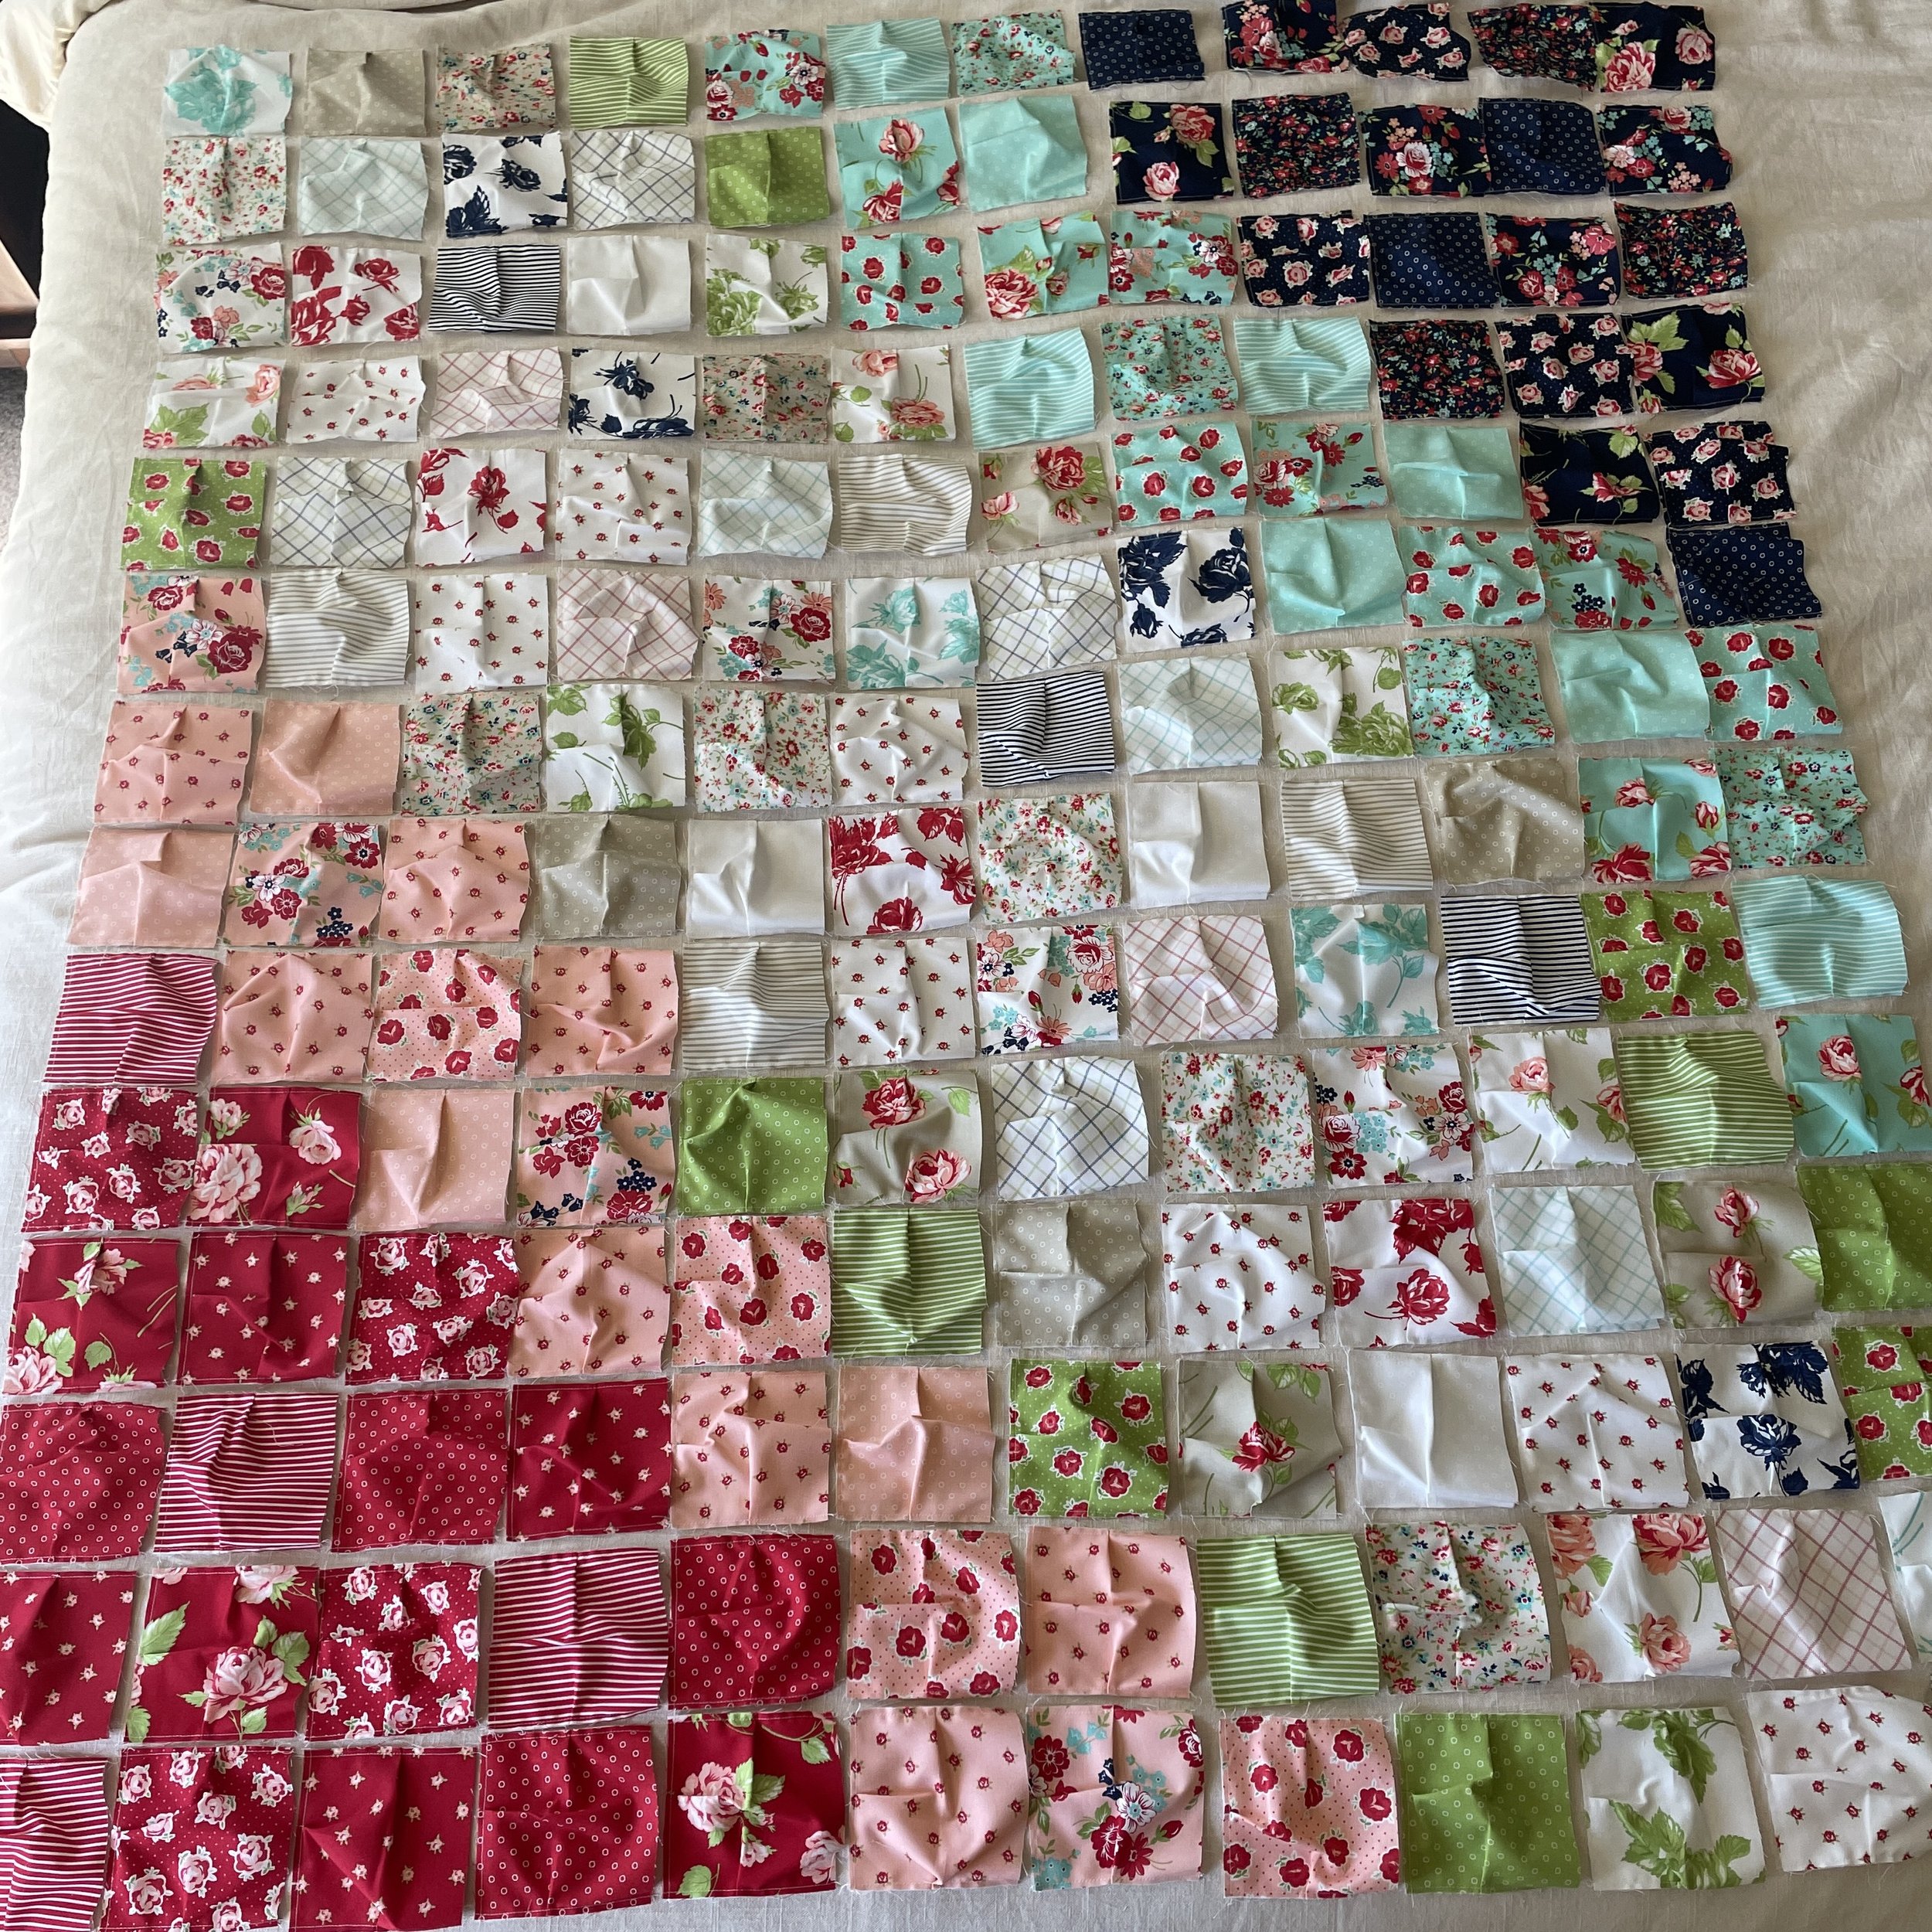
I figured I could still get the ombre effect Brittany had in her quilt as layer cakes usually have a good amount of light, medium, and dark from a line of material. I had to play around with the layout a bit, but I eventually got it! I started in a corner and then worked out and up.
After I got the quilt all put together, I was struggling with how I was going to quilt the quilt. This one didn’t feel like one you’d take in for the long-arm. After seeing Brittany post on how she found a stitch on her machine that just tacks down, I found out this was the button stitch on my machine and used that to “quilt” the puff quilt.
When it came to binding, this was where I found out my minky backing was not a good choice as the method was more of a self-binding method versus the traditional binding route. My minky kept stretching and it was hard to get a straight cut and press the material. You probably could using a traditional binding method, but it may be difficult if you sew your binding on with a machine as the puffs would be face-down while you attached the binding to the quilt. The quilt gets heavy and bulky; navigating it towards the end got a bit difficult. I was really happy I only picked the baby quilt to tackle.
This quilt ended up going to my kiddo’s step-sister for her dorm room. We thought it was the perfect size for a twin bed and a special gift that would help keep her warm during the winter. While the quilt turned out extremely cute, this is likely one I’m not going to do again. If I do, definitely not with minky and a baby size again.
